
How To Chrome Delete Your Cars Trim
Here we wlll show you how to chrome delete (or De-Chrome) your cars chrome trim, step by step. There’s actually only 4 steps, because it’s really that simple. We use a premium chrome delete kit.

Step 1
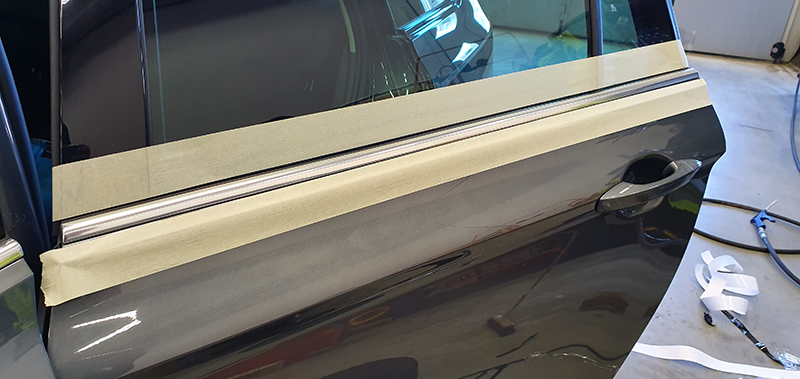
Wash the whole car and wipe it dry. All the chrome trim need to be cleaned with some isopropyl alkohol to remove all stuff on the surface, like wax, oil and other things that will make the vinyl not sticking to the surface you want to de-chrome.

Step 2
Let’s start the chrome delete process. Measure the length of the chrome trim you are going to start with. Add an extra 2″ to the length before you cut it from the roll of chrome delete tape. These extra 2″ will facilitate the assembly of the vinyl.
Step 3
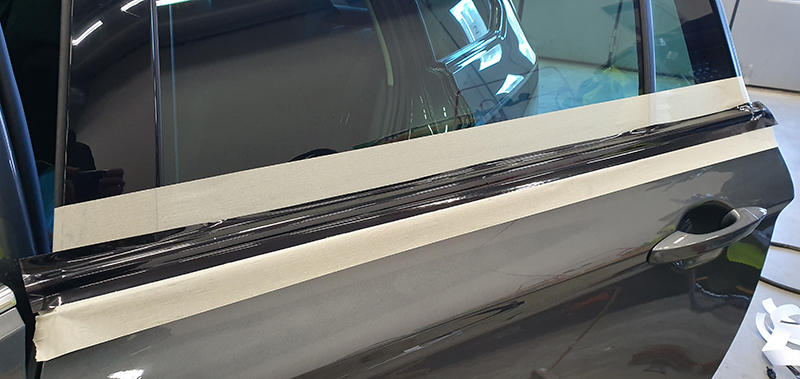
Remove the backpaper of the piece you just cut out of the roll. Be careful so you dont touch anything with this, dirt and dust will be visible under the vinyl and could cause bubbles.
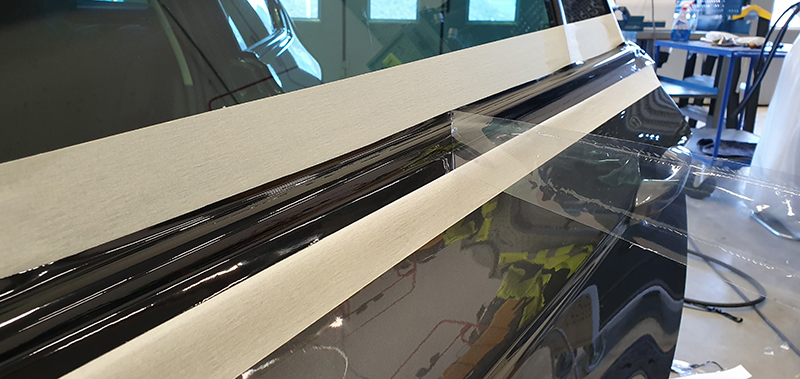
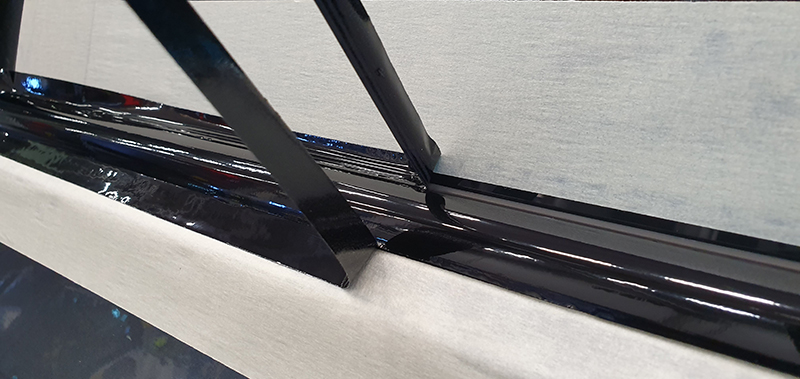
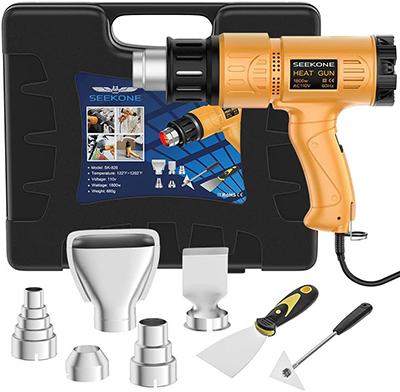
Lay the vinyl flat on the chrome trim and start working from the middle and out. On the edges you will need to heat the vinyl with a heatgun. Not too much, just enough so you can strech the vinyl over the edge and get a nice shape.
Heating the edges will also strengthen the adhesive.
We’ll just go through these steps once again with some information under each image below.

Step 4
Now repeat step 2 and 3 on the whole car. After you are done, let the car sit in the garage over night before using it. That gives time for the glue to gain full strength.
If you have chosen a premium quality chrome delete kit, you could now use the pressure washer or even go through the car washing machine without being worried about the vinyl coming off.
